|
Load image
Start at the
Analysis tab. Select an image file
from your hard disk by using the Choose
file� button on the right. Most popular formats are supported. The image
will appear on the left.
�
Use automatic simplification
There are two sliders on the left that allow you to edit the thresholds for image simplification. Process the image by pressing
Run in the Analysis tab.
The image has been simplified � the objects below these thresholds have been removed.
Some parts of the image will appear "flattened" as finer details disappear.
�
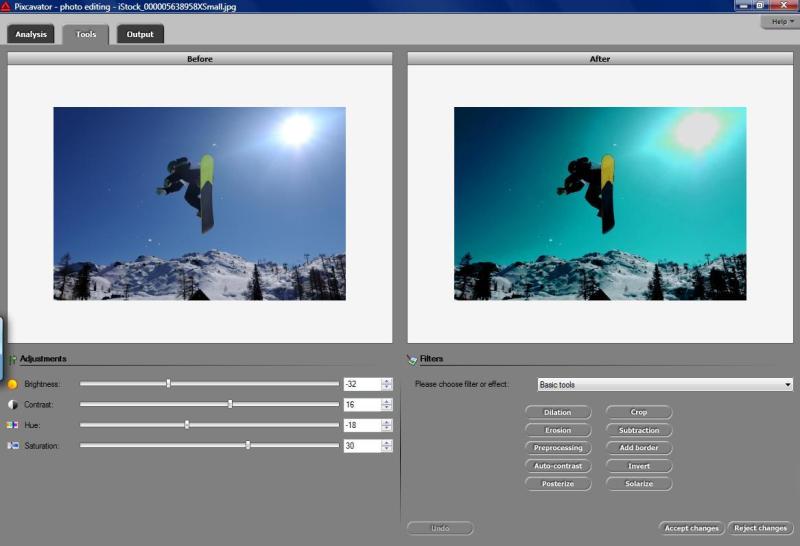
Enhance image
Go to the Tools tab. You can adjust Brightness
and Contrast by using sliders on the
left. On the right, there are some Filters.�
 � �
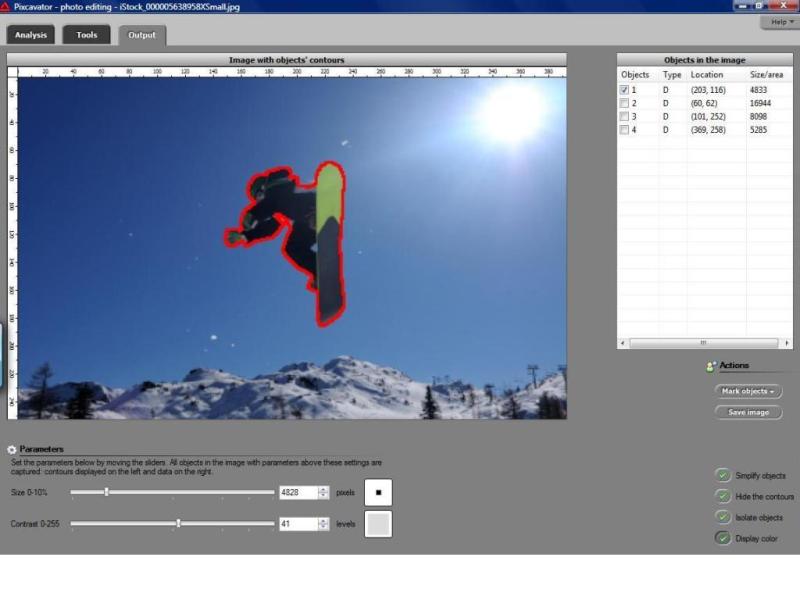
Manually manipulate image
In the Output tab the updated image is now displayed on the left.
The analysis captures objects in the image � dark are surrounded by red contours
while light by green.
If you click within the image while holding
Ctrl, the nearest contour to your mouse will disappear. If you click again,
the contour will reappear.
On the right, you see a table containing all
objects in the image satisfying the restrictions on size and contrast. To mark and unmark a row in the table, check and uncheck
the square in the beginning of the row. If an object is marked or unmarked in the
table on the right, a contour appears or disappears around this object in the image
on the left, and vice versa.
 � �
You can erase everything outside the marked objects by pressing
Isolate objects.
�
You can manually Simplify the image
by filling the contours of unmarked objects with the color of the surrounding area.
Simplification could make objects disappear from the image. See
Samples.
�
For more see User's Guide.
� �

�
|